What is the Process of Staining Laminate Flooring
Here is the process of staining laminate flooring, providing a comprehensive guide to achieving a professional finish.
Share this Post to earn Money ( Upto ₹100 per 1000 Views )
Staining laminate flooring is a popular method to refresh and revitalize your floors without the need for a complete replacement. While laminate flooring is known for its durability and variety of styles, the finish can fade or become outdated over time. Staining offers a cost-effective way to update the look of your laminate floors. Here is the process of staining laminate flooring, providing a comprehensive guide to achieving a professional finish.
Understanding Laminate Flooring
Before beginning the staining process, it's important to understand what laminate flooring is. Laminate flooring consists of a multi-layer synthetic product fused with a lamination process. The top layer is a photographic applique under a clear protective layer, designed to simulate wood, stone, or other natural materials. Unlike solid wood, laminate flooring does not have a surface that can be sanded down, making the staining process unique.
Preparing the Surface
The first step in staining laminate flooring is proper preparation. This involves thoroughly cleaning the floor to remove any dirt, dust, and debris that could interfere with the staining process. Follow these steps to prepare your laminate flooring:
- Clear the Area: Remove all furniture and objects from the floor to ensure an unobstructed work area.
- Clean the Floor: Sweep and vacuum the floor to remove loose dirt and dust. Follow up with a damp mop and a mild cleaner to eliminate any remaining residue. Allow the floor to dry completely before proceeding.
- Light Sanding: Lightly sand the surface of the laminate or engineered wood flooring using fine-grit sandpaper. This step helps to create a texture that allows the stain to adhere better. Be careful to sand appropriately, as laminate flooring is not as thick as solid wood.
- Wipe Down: After sanding, wipe down the floor with a damp cloth to remove any dust created by the sanding process. Let the floor dry thoroughly.
Choosing the Right Stain
Selecting the right stain is crucial for achieving the desired look. Laminate flooring cannot absorb stains like wood, so it's essential to use a product designed for laminate surfaces. Gel stains and tinted polyurethane are popular choices for staining laminate flooring because they sit on the surface rather than penetrating it. These products provide a consistent color and durable finish.
Applying the Stain
With the floor prepped and the stain selected, the next step is the application. Follow these steps for a successful staining process:
- Test a Small Area: Before applying the stain to the entire floor, test it on a small, inconspicuous area. This allows you to see the stain's appearance and ensure it adheres properly.
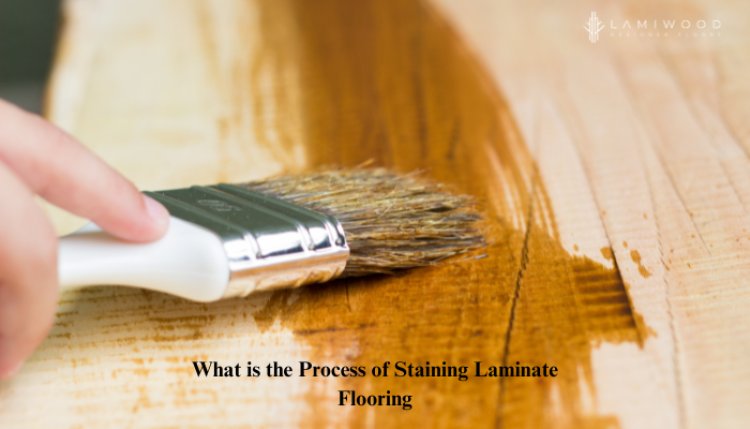
- Apply the Stain: Using a clean, lint-free cloth or a foam brush, apply a thin, even layer of stain to the floor. Work in small sections to maintain control and ensure even coverage. Avoid over-applying the stain, as this can lead to streaks and uneven coloring.
- Let it Dry: Allow the stain to dry according to the manufacturer’s instructions. This can vary from a few hours to overnight. Ensure the area is well-ventilated to facilitate drying.
- Second Coat: Depending on the desired depth of color, you may need to apply a second coat of stain. Follow the same process as the first coat, ensuring even application and thorough drying.
Sealing the Floor
After the stain has dried completely, it's important to seal the floor to protect the new finish. A clear polyurethane sealant is recommended for laminate flooring. This sealant adds a protective layer that guards against scratches, moisture, and daily wear and tear. Follow these steps to seal your laminate flooring:
- Apply the Sealant: Using a clean foam brush or applicator pad, apply a thin, even coat of polyurethane sealant. Work in small sections to avoid overlaps and streaks.
- Allow to Dry: Let the sealant dry according to the manufacturer’s instructions. This typically takes several hours. Ensure proper ventilation during this step.
- Second Coat: For added protection, apply a second coat of sealant once the first coat is completely dry. Allow the final coat to dry thoroughly before moving furniture back into the room.
Conclusion
Staining laminate flooring is a cost-effective and creative way to update your home's appearance. By carefully preparing the surface, choosing the right stain, applying it correctly, and sealing the finish, you can achieve a professional-looking result that enhances the beauty and durability of your floors. With attention to detail and patience, your stained laminate flooring can provide a fresh and stylish look for years to come.