Introduction:
Maintaining a crystal-clear and leak-free aquarium is essential for the health and well-being of your aquatic pets. One crucial aspect of achieving this is properly applying silicone sealant. In this step-by-step guide, we will walk you through the process of using silicone sealant to ensure a secure and visually appealing aquarium setup.
Gather the necessary tools and materials : Before you begin, gather all the tools and materials required for the task. These may include high-quality silicone sealant specifically designed for aquarium use, a caulking gun, a utility knife or razor blade, rubbing alcohol or aquarium-safe cleaner, and a clean cloth or paper towels. Having everything ready beforehand will make the process smoother and more efficient.
Prepare the aquarium : Ensure that your aquarium is clean and free from any debris or existing silicone. Use rubbing alcohol or an aquarium-safe cleaner to thoroughly clean the area where the new silicone will be applied. This step is vital to achieve a strong bond and prevent any contaminants from compromising the seal. Gently wipe the surface with a clean cloth or paper towel to ensure it is dry and ready for the silicone application.
Cut the silicone tube and load the caulking gun : Using a utility knife or razor blade, cut the tip of the silicone tube at a 45-degree angle. The size of the opening will depend on the thickness of the silicone bead you desire. Insert the silicone tube into the caulking gun and secure it in place. Make sure it is tightly fitted to avoid any leakage or uneven application of the sealant.
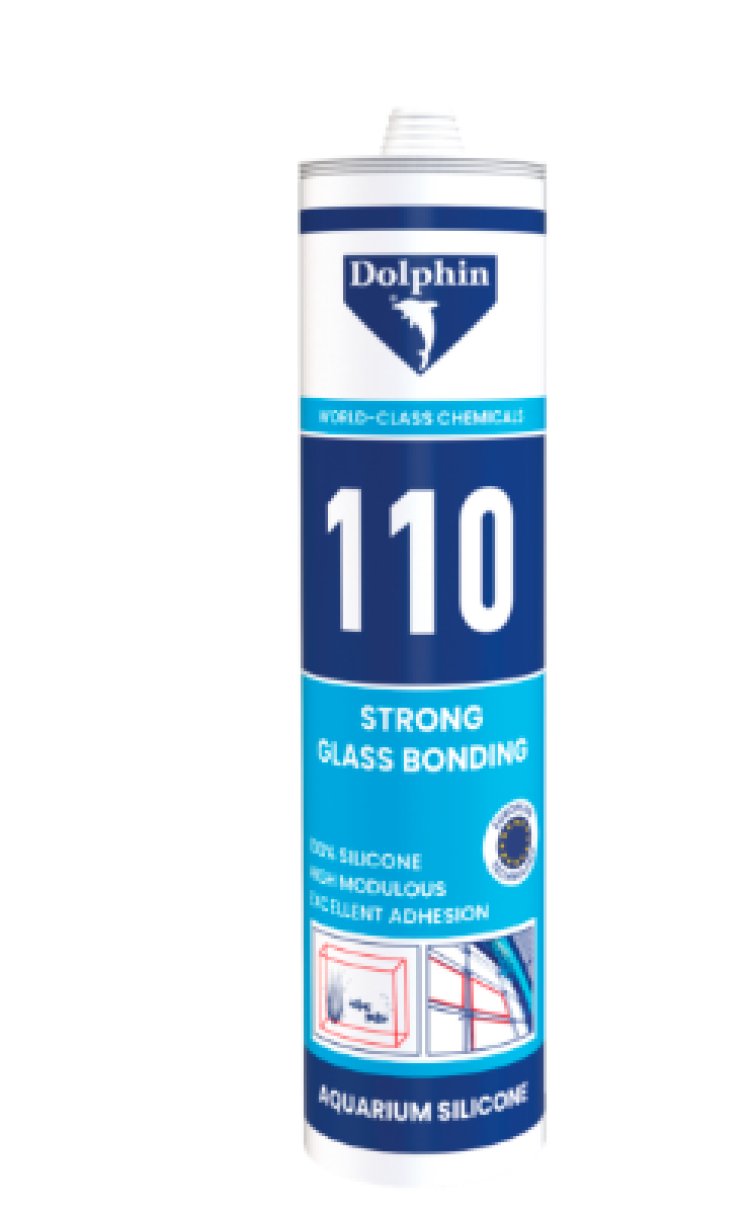
Aquarium silicone sealants are used for:
1. Building and sealing aquarium tanks.
2. Repairing leaks and resealing existing aquariums.
3. Attaching dividers, baffles, and overflow boxes.
4. Creating watertight seals around plumbing and filtration systems.
5. Securing decorations such as rocks, driftwood, and artificial plants.
6. Affixing backgrounds to the aquarium's back panel.
Overall, best aquarium silicone sealants manufactures are essential for maintaining a watertight and secure environment for aquatic life.
Apply the silicone sealant : Start at one corner of the aquarium and carefully apply a continuous bead of silicone along the joint you wish to seal. Apply steady pressure on the caulking gun trigger to ensure a consistent flow of silicone. Maintain a slow and steady pace to avoid gaps or excess sealant. Move along the joint, applying the silicone in a smooth and even manner. Take your time and be patient during this step to ensure a proper seal.
Smooth and shape the silicone bead : Using a clean cloth or paper towel dipped in rubbing alcohol, lightly moisten your finger. Gently run your moistened finger along the bead of silicone to smooth and shape it. The rubbing alcohol prevents the silicone from sticking to your finger, allowing for a neater finish. Continue to shape the silicone until you achieve the desired appearance. Pay close attention to any corners or tight spots to ensure thorough coverage and a visually appealing result.
Remove excess silicone : While the silicone is still wet, use a utility knife or razor blade to carefully remove any excess sealant. Hold the blade at a slight angle and gently scrape away the excess, taking care not to damage the existing silicone or the aquarium glass. This step will give your aquarium a clean and professional finish. Be cautious and make precise cuts to avoid any accidents or unnecessary damage.
Allow the silicone to cure : Follow the manufacturer's instructions regarding curing time. Generally, it takes about 24 to 48 hours for silicone sealant to fully cure. During this time, ensure the aquarium is kept in a well-ventilated area with minimal disturbance to allow for proper curing. Avoid touching or disturbing the silicone during this period to prevent any compromises in the bond.
Test for leaks : After the silicone has fully cured, fill the aquarium with water and monitor for any signs of leakage. Observe the joints closely and check for any water seepage. If you notice any leaks, promptly identify the source and apply additional silicone sealant as needed. It is essential to address any leaks immediately to maintain the integrity of the aquarium and the well-being of its inhabitants.
Conclusion : Applying silicone sealant to your aquarium is a crucial step in maintaining a leak-free and visually pleasing aquatic environment. By following this step-by-step guide, you can confidently seal your aquarium joints, ensuring the safety and comfort of your aquatic pets while enjoying a crystal-clear view of their underwater world. Remember to exercise patience, attention to detail, and caution throughout the process to achieve the best results. A properly sealed aquarium will provide you with a beautiful and secure habitat for your beloved aquatic creatures.


 User
User 


