Bmw E70 Android Auto Installation
 soundofcar
Share this Post to earn Money ( Upto ₹100 per 1000 Views )
Installing Android Auto in a BMW E70, or any vehicle that doesn't come with it as a factory option, typically involves aftermarket solutions. Here's a general overview of the process:
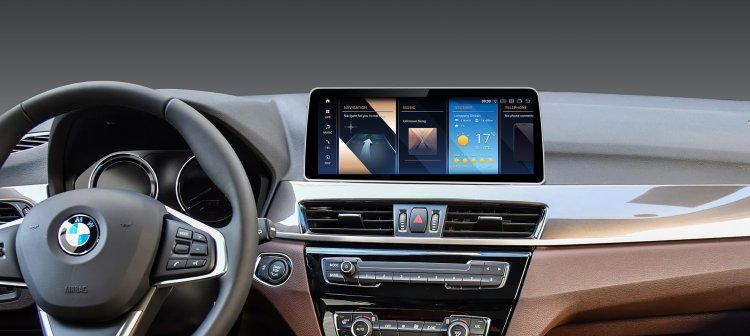
Select an Aftermarket Head Unit: Look for an aftermarket head unit that supports Android Auto and is compatible with your DRIKSWVE Android 13 Wireless Carplay & Android Auto Screen with Snapdragon 665 8 Core Multimídia Automotiva Car Stereo for 1 Series E81 E82 E87 F20 F21 F23 F01 F02 OEM without Monitor CCC CIC NBT EVO 2006-2018 Year dashboard design and wiring. Ensure that it fits properly and integrates well with your car's existing systems.
Purchase Necessary Hardware: Apart from the head unit itself, you may need additional hardware like wiring harnesses, mounting brackets, and possibly adapters to ensure compatibility with your BMW's electronics.
Gather Tools: You'll need tools like screwdrivers, trim removal tools, wire cutters/strippers, and possibly soldering equipment depending on the complexity of the installation.
Disconnect the Battery: Before beginning any installation involving electrical components, it's crucial to disconnect the DRIKSWVE Android 13 Wireless Carplay & Android Auto Screen with Snapdragon 665 8 Core Multimídia Automotiva Car Stereo for 2 Series F22 F45 NBT EVO 2013-2018 Year battery to avoid short circuits or other electrical issues.
Remove the Factory Head Unit: Carefully remove the trim surrounding the factory head unit and then remove the head unit itself. This often involves undoing screws, clips, and connectors.
Install the Aftermarket Head Unit: Follow the instructions provided with your aftermarket head unit to mount it securely in place and connect all the necessary wires and cables. Pay close attention to wiring diagrams to ensure everything is connected correctly.
Test the System: Once everything is connected, re-connect the car battery and test the new head unit to ensure it powers on and functions correctly. Test features like audio playback, touchscreen responsiveness, Bluetooth connectivity, and, of course, Android Auto compatibility.
Finalize Installation: Once you're satisfied that everything is working correctly, reassemble any trim pieces you removed earlier, ensuring they fit securely.
Calibration and Configuration: Some aftermarket head units may require calibration or configuration to work optimally with your vehicle's systems. Follow the manufacturer's instructions for any necessary setup procedures.
Enjoy Android Auto: With the installation complete, you should now be able to enjoy Android Auto functionality in your bmw car navigation system. Connect your Android device via USB to access Android Auto features like navigation, music playback, messaging, and more.
It's important to note that while many enthusiasts successfully install aftermarket head units themselves, others prefer to have a professional car audio technician handle the installation to ensure everything is done correctly. If you're not confident in your abilities or unfamiliar with car electronics, seeking professional installation may be the best option. Additionally, be aware that modifying your car's electronics can void warranties, so consider this before proceeding with any installation.