The HP DeskJet 2540 is a popular all-in-one printer known for its reliability and ease of use. One of its standout features is the ability to connect wirelessly to a WiFi network, allowing you to print from multiple devices without the need for physical connections. In this comprehensive guide, we’ll walk you through the steps to connect your connect hp deskjet 2540 to wifi network, ensuring that you can take full advantage of its wireless capabilities.
Why Connect Your HP DeskJet 2540 to WiFi?
Before we dive into the setup process, it's worth understanding why connecting your HP DeskJet 2540 to WiFi is beneficial. Here are some of the advantages:
- Convenience: Wireless printing allows you to print from any device connected to your WiFi network, including smartphones, tablets, laptops, and desktops.
- Flexibility: You can place your printer anywhere within the range of your WiFi network, without being tethered to a specific location by cables.
- Multi-device Support: With a wireless connection, multiple users can print from different devices without the need for multiple printers or manual connections.
- Remote Printing: When connected to WiFi, you can use services like HP ePrint to send print jobs to your printer from anywhere in the world.
Now that you know the benefits, let’s get started with the setup process.
Prerequisites for Connecting Your HP DeskJet 2540 to WiFi
Before you begin, make sure you have the following:
- WiFi Network Name (SSID): This is the name of the wireless network you want to connect to.
- WiFi Password: Ensure you have the correct password for your WiFi network.
- A Computer or Mobile Device: You’ll need a device that is already connected to the WiFi network to set up the printer.
- HP DeskJet 2540 Printer: Ensure that your printer is powered on and functioning correctly.
Method 1: Connecting via HP Auto Wireless Connect
The HP Auto Wireless Connect feature allows you to automatically connect your printer to your WiFi network without needing to enter the network name or password manually. This method is one of the easiest ways to connect your HP DeskJet 2540 to WiFi.
Step 1: Install the Printer Software
- Download the Software: Visit the HP Support website and search for your printer model (HP DeskJet 2540). Download the latest printer software and drivers compatible with your operating system.
- Run the Installer: Once the download is complete, run the installer. The software will guide you through the installation process.
- Select the Connection Type: When prompted, select the "Wireless" connection type. The installer will search for available printers.
Step 2: Enable HP Auto Wireless Connect
- Activate Auto Wireless Connect: During the installation, the software will attempt to connect the printer using HP Auto Wireless Connect. Ensure that the printer is powered on, and press the "Wireless" button on the printer’s control panel.
- Wait for Connection: The printer will automatically search for your WiFi network and connect. This process may take a few minutes.
- Complete the Setup: Once connected, the software will notify you that the printer is successfully connected to your WiFi network. Follow the remaining on-screen instructions to complete the setup.
Method 2: Connecting via WPS (WiFi Protected Setup)
If your router supports WPS, you can use this method to connect your HP DeskJet 2540 to WiFi. WPS allows you to connect devices to your WiFi network without needing to enter a password.
Step 1: Prepare Your Printer
- Turn on the Printer: Ensure that your HP DeskJet 2540 is powered on and in a ready state.
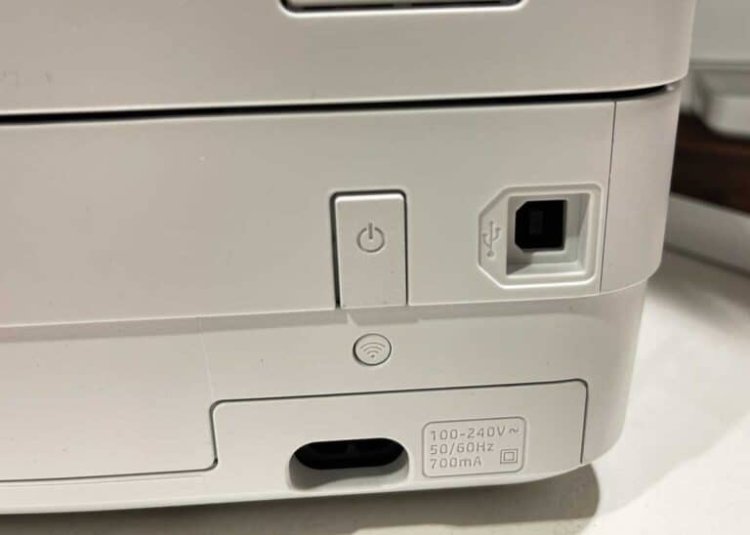
- Enable WPS Mode: Press and hold the "Wireless" button on your printer until the wireless light starts blinking. This indicates that the printer is in WPS mode.
Step 2: Connect Using WPS
- Press the WPS Button on Your Router: Within two minutes of enabling WPS mode on your printer, press the WPS button on your WiFi router. The router will start searching for devices in WPS mode.
- Wait for the Connection: The wireless light on your printer will stop blinking and remain solid once the connection is successful. This indicates that your printer is now connected to the WiFi network.
Step 3: Confirm the Connection
- Print a Network Configuration Page: To ensure that your printer is connected, you can print a network configuration page. Press and hold the "Information" button on the printer’s control panel until the light starts blinking. The printer will print a page showing the connection status and IP address.
- Verify the Details: Check the network configuration page to confirm that your printer is connected to the correct WiFi network.
Method 3: Connecting via HP Smart App (For Mobile Devices)
The HP Smart app is a versatile tool that allows you to set up and manage your HP printer directly from your smartphone or tablet. This method is particularly convenient if you prefer using a mobile device for the setup.
Step 1: Download the HP Smart App
- Visit the App Store or Google Play: On your mobile device, go to the App Store (for iOS devices) or Google Play (for Android devices) and search for "HP Smart."
- Install the App: Download and install the HP Smart app on your device.
Step 2: Add Your Printer
- Open the HP Smart App: Launch the app and follow the on-screen instructions to set up a new printer.
- Select Your Printer: The app will search for available printers. Select your HP DeskJet 2540 from the list of detected devices.
- Connect to WiFi: The app will prompt you to connect the printer to your WiFi network. Enter the network name (SSID) and password when prompted.
- Complete the Setup: Once connected, the app will guide you through the remaining steps to complete the setup.
Step 3: Test the Connection
- Print a Test Page: Use the HP Smart app to print a test page and verify that the printer is working correctly over the WiFi network.
- Explore Additional Features: The HP Smart app offers various features, including scanning, printing photos, and monitoring ink levels. Explore these features to make the most of your HP DeskJet 2540.
Troubleshooting Common Connection Issues
While the setup process is generally straightforward, you may encounter issues when trying to connect your HP DeskJet 2540 to WiFi. Here are some common problems and how to resolve them:
Issue 1: Printer Not Found During Setup
If your printer is not found during the setup process, try the following:
- Check the WiFi Signal: Ensure that your printer is within range of your WiFi router. Weak signals can cause connection issues.
- Restart Your Devices: Restart your printer, computer, or mobile device, and WiFi router. This can resolve temporary connectivity issues.
- Disable VPN or Firewalls: If you are using a VPN or have strict firewall settings, try disabling them temporarily during the setup process.
Issue 2: Printer Fails to Connect to WiFi
If your printer fails to connect to the WiFi network, consider these steps:
- Double-Check the WiFi Password: Ensure that you are entering the correct WiFi password. Incorrect passwords are a common cause of connection failures.
- Reset Network Settings: On the printer, reset the network settings to factory defaults by pressing and holding the "Wireless" and "Cancel" buttons simultaneously for 5 seconds. Then, try connecting again.
- Use a Different Method: If one connection method doesn’t work, try another method (e.g., WPS, HP Smart App).
Issue 3: Printer Goes Offline
If your printer goes offline after being connected, try the following solutions:
- Check Network Stability: Ensure that your WiFi network is stable and not experiencing interruptions.
- Assign a Static IP Address: Assigning a static IP address to your printer can help maintain a stable connection. This can be done through your router’s settings.
- Update Printer Firmware: Check for and install any available firmware updates for your printer. Firmware updates can improve connectivity and overall performance.
Conclusion
Connecting your HP DeskJet 2540 to WiFi opens up a world of convenience and flexibility, allowing you to print wirelessly from multiple devices. Whether you use the HP Auto Wireless Connect feature, WPS, or the HP Smart app, the setup process is designed to be user-friendly and straightforward. By following the steps outlined in this guide, you can quickly and easily connect your printer to your WiFi network and enjoy the benefits of wireless printing.
Should you encounter any issues during the setup, refer to the troubleshooting section for guidance. With your HP DeskJet 2540 connected to WiFi, you can streamline your printing tasks and take full advantage of your printer’s capabilities. Happy printing.