Getting Started with ESP32 NodeMCU: Campus Component’s Guide
Learn how to set up and use the ESP32 NodeMCU development board in this beginner-friendly guide. Discover its features, setup process, and how to write your first program to create exciting IoT projects.
 campuscomponent
Share this Post to earn Money ( Upto ₹100 per 1000 Views )
The ESP32 NodeMCU is a powerful and versatile development board widely used in IoT and embedded system applications. With built-in WiFi and Bluetooth capabilities, it offers high processing power, energy efficiency, and a rich set of peripherals, making it a favorite among developers and hobbyists.
This guide will take you through the basics of ESP32 NodeMCU, from setting it up to executing your first program.
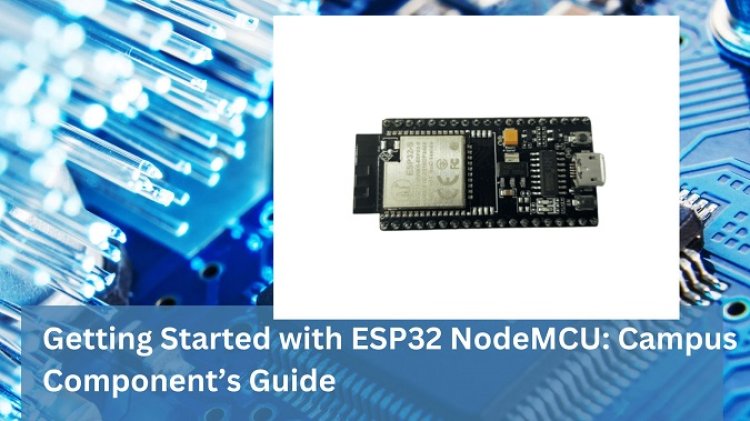
What is ESP32 NodeMCU?
ESP32 NodeMCU is an advanced microcontroller board developed by Espressif Systems. It is the successor to the ESP8266, featuring dual-core processing, improved connectivity, and lower power consumption. It is used in smart home automation, industrial IoT applications, robotics, and many other fields.
Key Features of ESP32 NodeMCU
-
Dual-core 32-bit processor for enhanced performance
-
WiFi and Bluetooth connectivity for seamless networking
-
Low power consumption suitable for battery-operated applications
-
Multiple GPIO pins for sensor and peripheral interfacing
-
Built-in ADC, DAC, PWM, and capacitive touch sensors for enhanced versatility
Setting Up ESP32 NodeMCU
Installing Arduino IDE and ESP32 Board Package
To begin, install the latest version of the Arduino IDE from the official Arduino website. Once installed, open the IDE and navigate to File > Preferences. In the “Additional Board Manager URLs” field, enter https://dl.espressif.com/dl/package_esp32_index.json. Then, go to Tools > Board > Boards Manager, search for ESP32 by Espressif Systems, and click Install to complete the process.
Connecting ESP32 to Your Computer
After setting up the software, connect your ESP32 NodeMCU to your computer using a USB-to-Micro-USB cable. Open Arduino IDE and select ESP32 Dev Module from the Tools > Board menu. Ensure that the correct COM Port is selected under Tools > Port to establish a successful connection between your computer and the board.
Installing USB-to-Serial Drivers
Some ESP32 boards require additional drivers for USB-to-Serial communication. If your board is not detected, you may need to install the CP210x or CH340 driver, which can be downloaded from the manufacturer’s website. Once installed, your ESP32 should be ready for programming.
Writing Your First Program
Now that your ESP32 NodeMCU is set up, let's write and upload a simple LED blinking program.
Writing and Uploading Code in Arduino IDE
#define LED_PIN 2
void setup() {
pinMode(LED_PIN, OUTPUT);
}
void loop() {
digitalWrite(LED_PIN, HIGH);
delay(1000);
digitalWrite(LED_PIN, LOW);
delay(1000);
}
Click on the Upload button in Arduino IDE. Wait for the compilation and upload to complete. If you see a blinking LED on your ESP32 board, the program is successfully running!
Exploring More with ESP32
IoT Applications
ESP32 is widely used in IoT applications due to its WiFi and Bluetooth capabilities. You can build smart home automation projects, remote monitoring systems, and cloud-based applications using platforms like Blynk, Firebase, and MQTT.
Sensor Interfacing
ESP32 supports a variety of sensors including temperature, humidity, motion, and GPS modules. Check out our guide on interfacing GPS with ESP32 to learn how to integrate location tracking into your projects.
Web Server Development
With ESP32, you can create a web server to control and monitor devices remotely using a simple webpage hosted on the board itself.
Where to Buy ESP32 NodeMCU?
If you are looking to purchase an authentic ESP32 NodeMCU development board, visit our Electronic components shop at Campus Component. We offer high-quality ESP32 boards and other essential components for your development needs.
Final Thoughts
The ESP32 NodeMCU is a powerful yet beginner-friendly development board that opens up endless possibilities in the world of embedded systems and IoT. Whether you are a hobbyist or a professional, mastering ESP32 will help you build exciting and innovative projects.
Start experimenting today, and stay tuned for more tutorials and project ideas!
FAQs
1. What programming languages can be used with ESP32 NodeMCU?
ESP32 supports C, C++, MicroPython, and Lua, with Arduino IDE and PlatformIO being the most commonly used development environments.
2. Can ESP32 work without the internet?
Yes, ESP32 can work without the internet by utilizing Bluetooth, local networks, or standalone functionalities such as data logging and offline processing.
3. What power supply does ESP32 require?
ESP32 operates on 3.3V logic level and can be powered via a 5V USB connection or an external 3.3V power source.
4. How is ESP32 different from ESP8266?
ESP32 is a more advanced version of ESP8266, offering dual-core processing, Bluetooth support, more GPIO pins, and lower power consumption, making it suitable for more complex applications.
5. Where can I find project ideas for ESP32?
You can explore project ideas on electronics forums, GitHub repositories, and our blog section at Campus Component for detailed step-by-step tutorials.


![Fairy Bread Farms Hemp Gummies Official Website, Reviews [2025] & Price For Sale In AU, NZ](https://blog.rackons.in/uploads/images/202504/image_380x226_67f403f2cf9d9.jpg)
